wanna know how to make this??

or this??

or this???

okay then...read on:) this one is simple enough that you will have one in several of your favourite patterns..like me:)
{PLS REMEMBER to click on all the photos to get a closer look!}
********************************************

Once you've drawn and cut out your pattern,
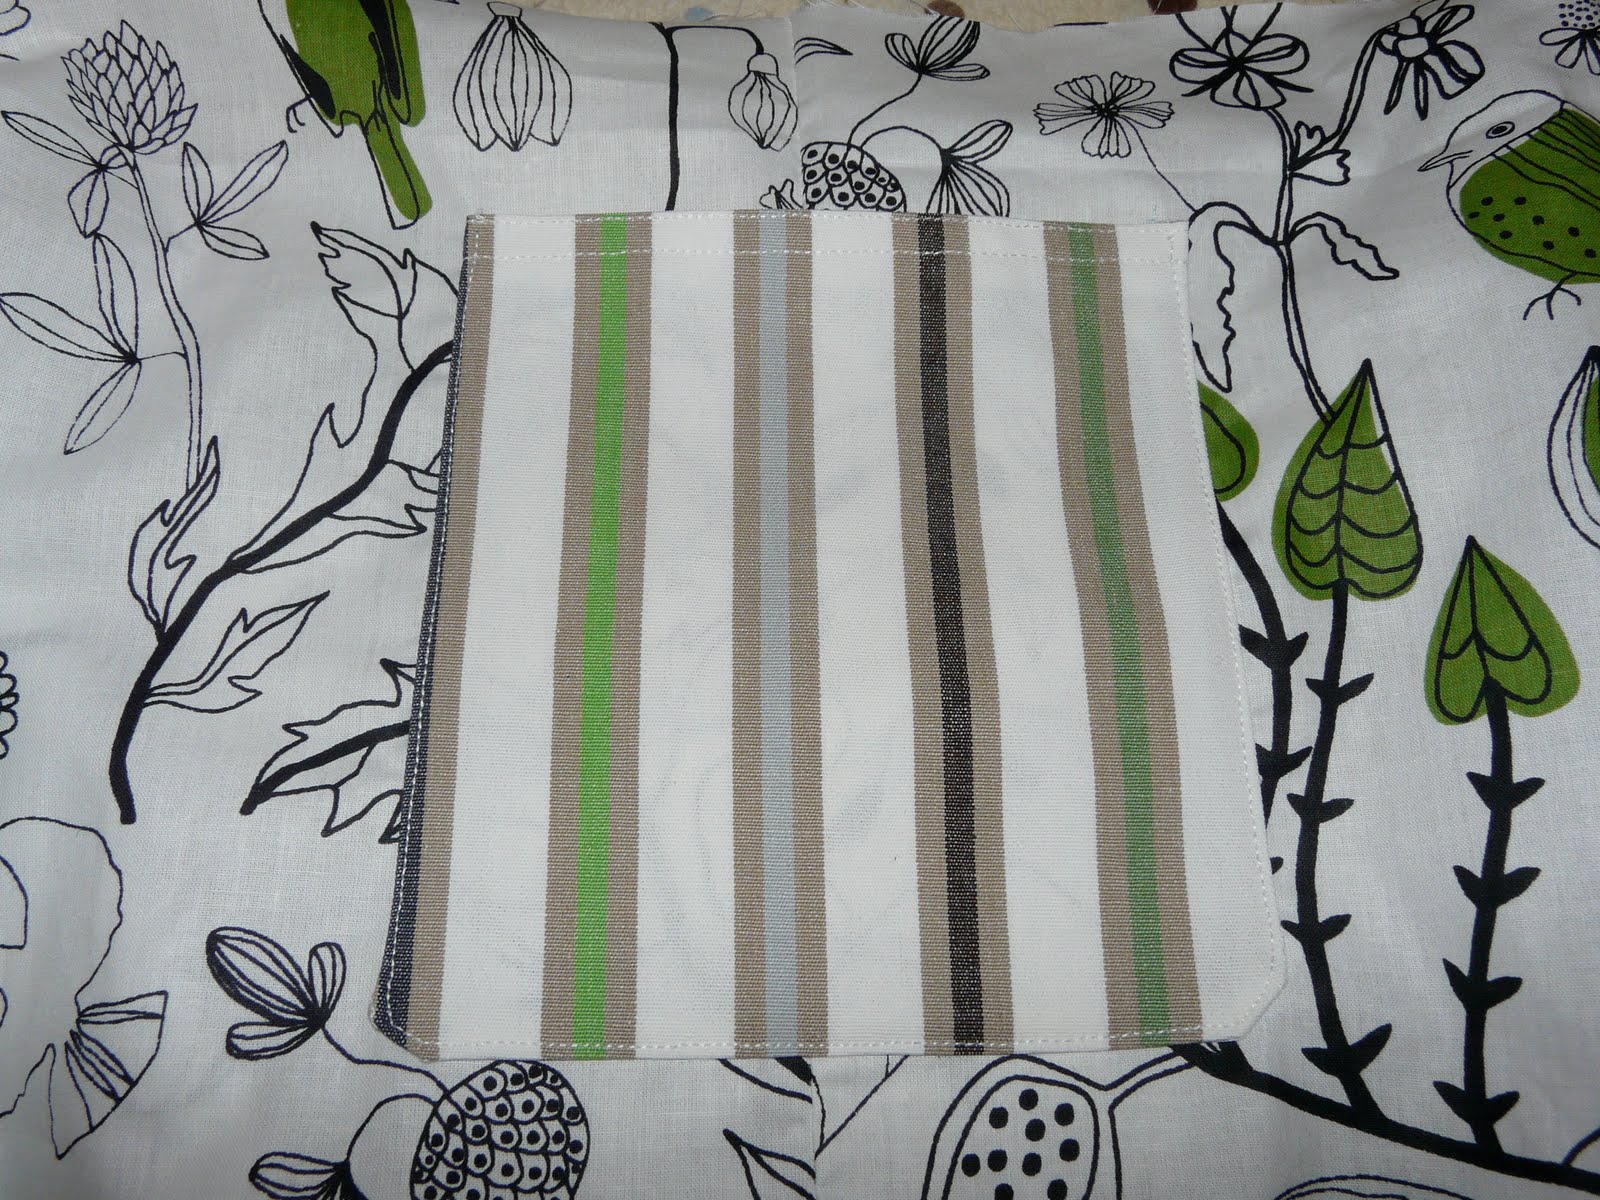
(click the picture to see the pencil lines that i drew to get the measurements right!)

cut two from your chosen bag fabric, and two from your lining fabric.

I usually use a sturdy cotton for the outside and a sheet cotton for the lining, but you could use anything that suits your fancy.
After cutting these out, I also cut a pocket for the inside, I use some of the outer fabric for this, cut into a rectangle about 8" X 6.5". Then I cut a strip of ribbon measuring 5" X 1.5" to make a loop with which to fasten the bag to a button...if you choose to use this method.
{You could also make two ties to fasten, or use velcro or a snap fastener}
1. Start with your outer bag pieces. Place right sides together, and sew the seams at each edge, between the *s on the pattern, like this:

2. Then open out the piece so that the seams are at the front and back of the bag. Sew along the bottom seam...like this:

3. Then square off the corners by pinching each one out, and sew straight across, making the bottom of a triangle, about an inch from the corner's edge...like this:
{Trim excess.}

4. Repeat these steps with the lining pieces, but remember to leave a gap in the bottom seam of the lining, for turning inside-out later on.
{imagine a picture here of the lining...with a 4-5 inch gap in the bottom seam}
5. Overlock or zig-zag the top edge of your pocket. Press the edge down about half an inch, and top-stitch. Then press your pocket half an inch all around. Pin to the outside of the lining where you would like it, and stitch it down...like this:
6. Make your loop of ribbon for the button...pinning it on the right side facing down, like this:

7. Now sew the lining and outer pieces together. Place lining inside the outer layer, right sides together. Match centre seams, and pin. Insert your loop between the two layers on one side of the bag, so the ends of the loop are sticking out, and pin it securely.

8. Sew about 1/4" from the edge, all along both sides of the bag, right up to the top edges.
{DO NOT sew the 4" width of the straps closed}


Then tuck in the lining pieces at this point and hand-stitch it closed...or machine stitch it, but you'll see it on the top-side.

10. Press the strap again and if you are happy with everything, top-stitch a 1/4" seam all around the edges of the bag. Sew the gap in the lining closed by folding the edges in a 1/4" and stitch. Hand-sew a big button on the front of the bag, in such a position so the loop will fit nicely around it.

add some nifty embellishments too...if you so desire!

TA-DA!!!
now fill it up...and enjoy!!

...simple!
2 comments:
i'm trying this next week , i have yet to make one i'm pleased with and doesn't go to the kids for yet another dress up bag :)
Hey Denise...COOL!! I hope you do try it and i hope it works out for ya!! Just remember to make the template first to make sure you're pleased with the size...and if not...add a few inches here and there or take some off - it's really user friendly - let me know if you need any further explaination!!!
Post a Comment