Now comes the explanation and disclaimers...because you
knew I couldn't just simply follow the recipe!!
So...I get up early in the morning (not
that early, but when I'm making buns, it means I skip my 'laze-on-the-sofa-and-sip-a-cup-of-coffee routine), round up all the necessary ingredients, and then haul out my nifty
Bosch Machine (we're attempting to get a copyright on this name!:p)
To start things off, I get the yeast rising...putting the sugar in the cup first, dissolving it in hot tap water and then adding the yeast and covering the cup with a tea towel while it "
proofs".
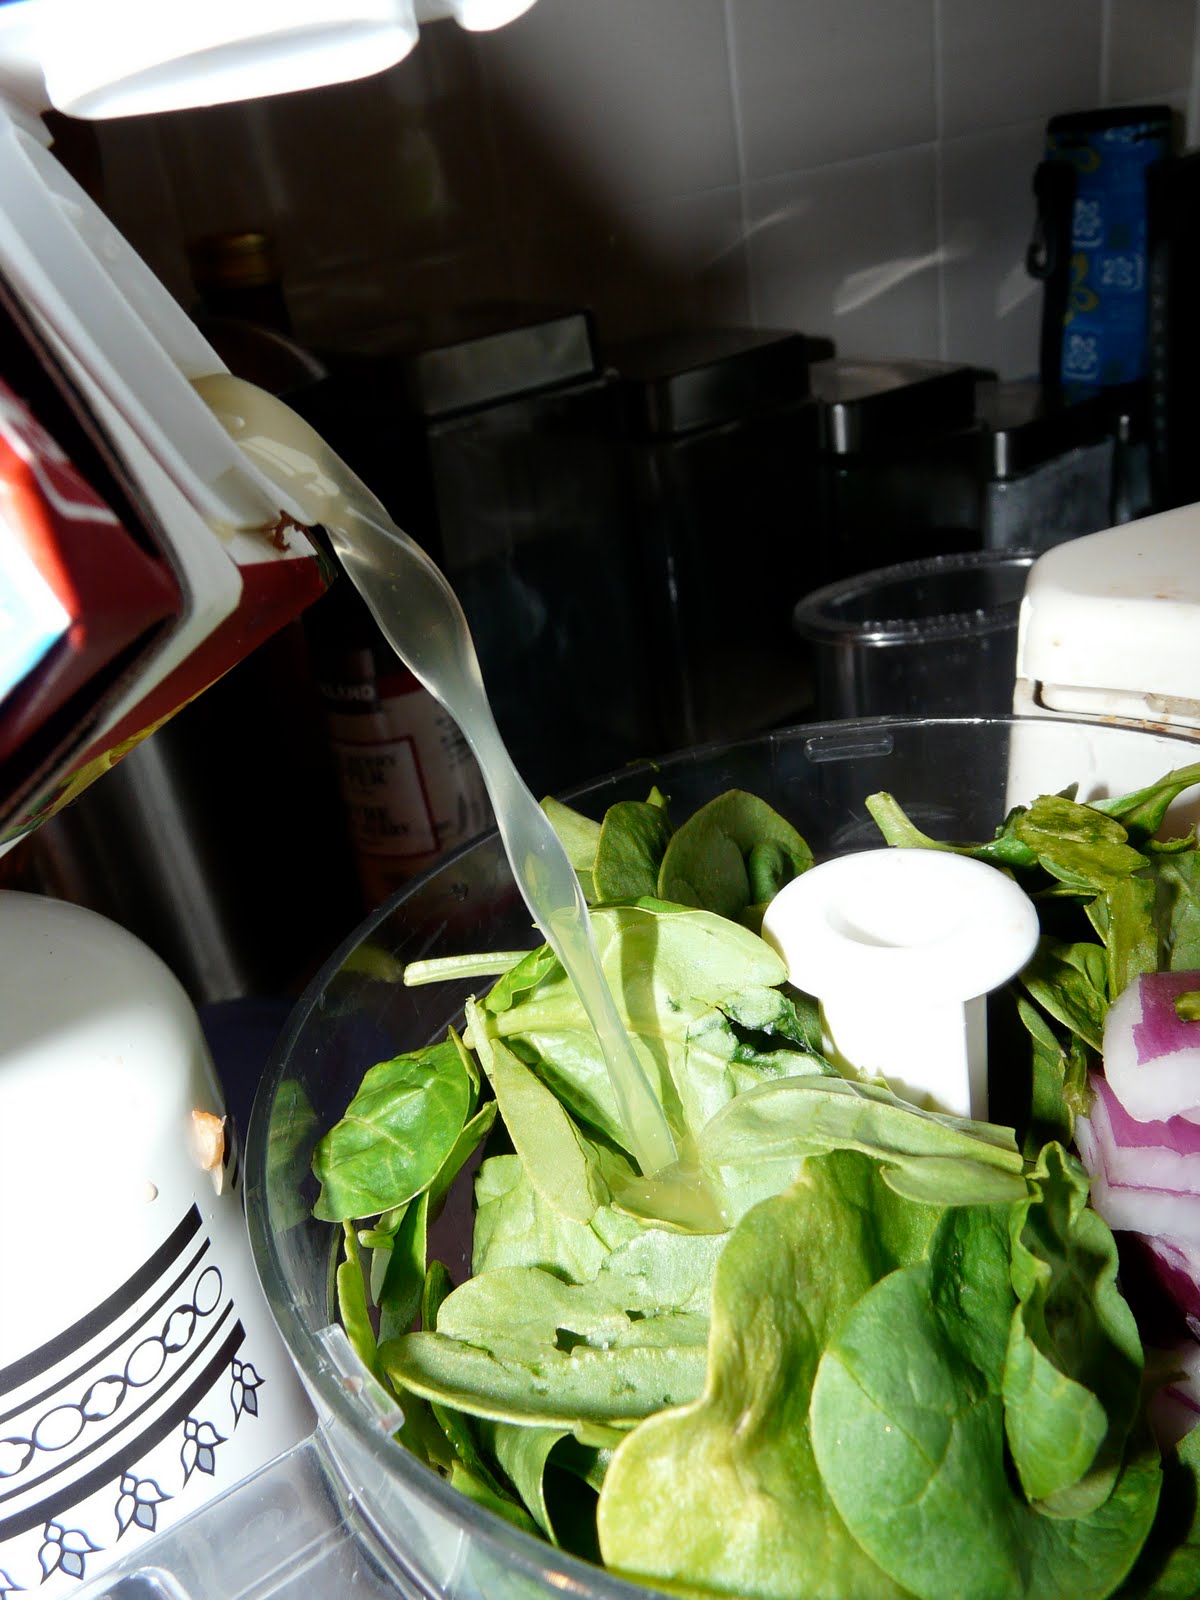
Next, I pull out my
Pampered Chef mixing bowl to get the milk going... I use skim milk powder mixed with water and warm it in the microwave for a few minutes.
While that's going around I get the potato 'water' made...i put water in quotations because I actually use
instant mashed potato powder! Add in the oil, salt and egg and I throw all the wet stuff into my Bosch, giving it a good mix.
By now, the yeast will have done it's 'thing' and I throw that in too...this is where i start to wander away from the path set before me;)
Once all my wet ingredients have been added that are in the recipe, I add a bit (2-4 Tbsp) of molasses just to darken up the dough and give it a deeper flavour.
Once that's all mixed up...it's time to start adding the dry stuff - here's where things get a little less calculated, and more "pantry-depending." You see, I add a 'bunch' of 'stuff' depending on what I have in the panrty on that particular day...usually it looks something like:
- 2 - 4 c rye flour
- 3/4 c bran
- 1+ c oats
- 1/3-1/2 c ground flax seed
Feel free to play around with these ingredients...even add your own that suit your taste...or be a "rule-follower" and stick to the recipe provided...
any option will prove successful!
After you've added (or not) your little bits of goodness, move on to the flour portion of the recipe. Notice in the recipe I provided that I didn't write a specific type of flour - whole wheat
or white...that's because it really doesn't matter.
If you want white buns...stick to the recipe (possibly adding some oats??) and white flour.
If you want 100% whole wheat, do 100% - but they
do turn out a
tad on the dry side.
And...if you want buns like the ones featured here in this little blog, then add the bits of goodness and 10 cups of whole wheat flour...give your dough a good mixing and see how runny it is. If mine is still pretty runny at this point, I'll throw in a couple more cups of WW flour.
Once it's pretty stick, but no longer runny, I start adding the white flour. The trick it to add the white flour until the dough forms a beautiful, not-so-sticky ball that has pulled away all the dough-bits off the walls of the bowl. Does that even make sense???
It should NOT stick to your finger if you poke it!Dump it out into a huge, oiled, metal mixing bowl...like this:

Place the bowl of dough (covered with some plastic [i use a cut-open bread bag] and a dish cloth) into ancient oven, with the light on - obviously any newer model will do, too!

let it rise until nice and poofy...like this!!
{approx. 1.5 hours}


Now it's time to start making the buns!
Please note: you only make one pan at a time...and space out the 'making' process as far apart as the baking process. If you were to make all the buns at once and then let them all rise the "same amount" of time, there would always be some that got more/less time to rise...timing the 'making' process 16-20 mins apart will ensure that all your pans will be given the same amount of time to rise. Get it??
Okay, well anyways...once you've lined you pan with some parchement paper, start making the buns. This is how I've been taught to make them...

Getting a big ball of dough in my well-oiled hands and squeezing a little ball out between my index finger and thumb.
You them set them all out evenly on a pan - 4 across and 6 down - to get 2 dozen per sheet:

Cover them with some plasic and tea towels too and let them rise (remembering to put the remaining dough back into the oven, covered with it's plastic and tea towel)...set the timer...make another pan...cover (put the remaining dough covered, back in the oven)...set the timer...make another pan...get it?

This is a picture of two different pans at their respective rising points...the left pan has risen lots and is almost ready to bake, and the right pan still needs more time to sit.

Ready to go in the oven!

Bake for 7-10 mins
(depending on your oven temp.) and then turn...to ensure all-around bronzing;)
TA-DA!!!

ENJOY!!!!!
Make sure they're completely cooled before placing them in a plastic bag...I use old bread bags...and put in 1 dozen/bag...taking out however many you need and puting them in the microwave to thaw - this keeps them super fresh until you're ready to eat 'em!!
~ maybe not to simple...but SURE worth it!!
::feel free to ask any questions here, should you need any clarification:)